
Why Shaded Turf Might be the Best Choice for your Lawn


Why Shaded Turf Might be the Best Choice for your Lawn

When it comes to choosing the right type of turf for your lawn, there are many factors to consider. One of the most important is whether or not your lawn gets a lot of sun. If you have a north-facing garden, you might be wondering if shaded turf is the best choice for you.

In this post, we are going to share with you the pros and cons of shaded turf. By the end, you should have a better idea of what type of turf is right for your lawn.

Garden in the shaded due to trees
Shaded turf garden

The Pros of Shaded Turf

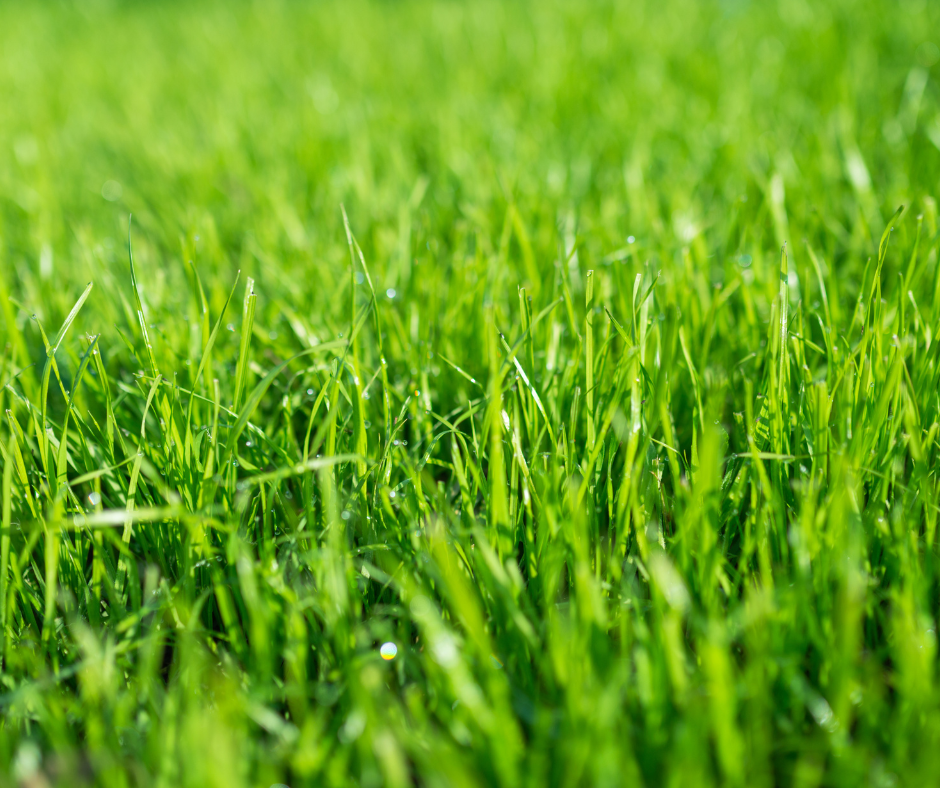
A shaded turf is a great option for those who have a lawn that is mostly in the shade. This type of turf is specifically designed to thrive in shaded conditions and can help keep your lawn looking lush and green even when it doesn’t get a lot of sun. The main advantage is that it is drought-resistant, meaning you won’t have to water it as often after it has established. As a result, it can help you save time and money on your lawn care.

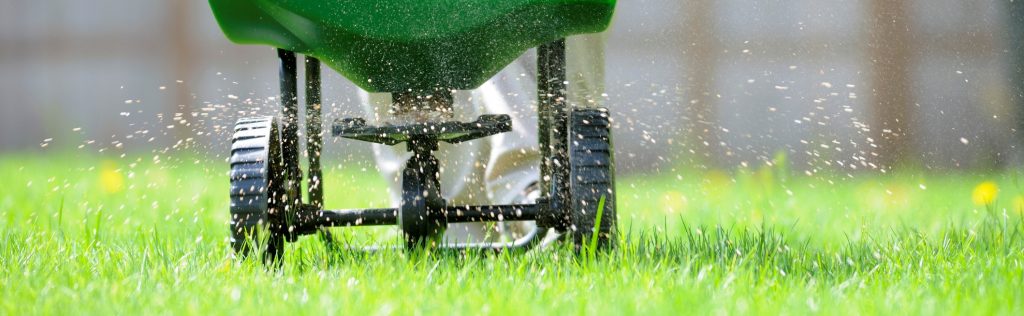
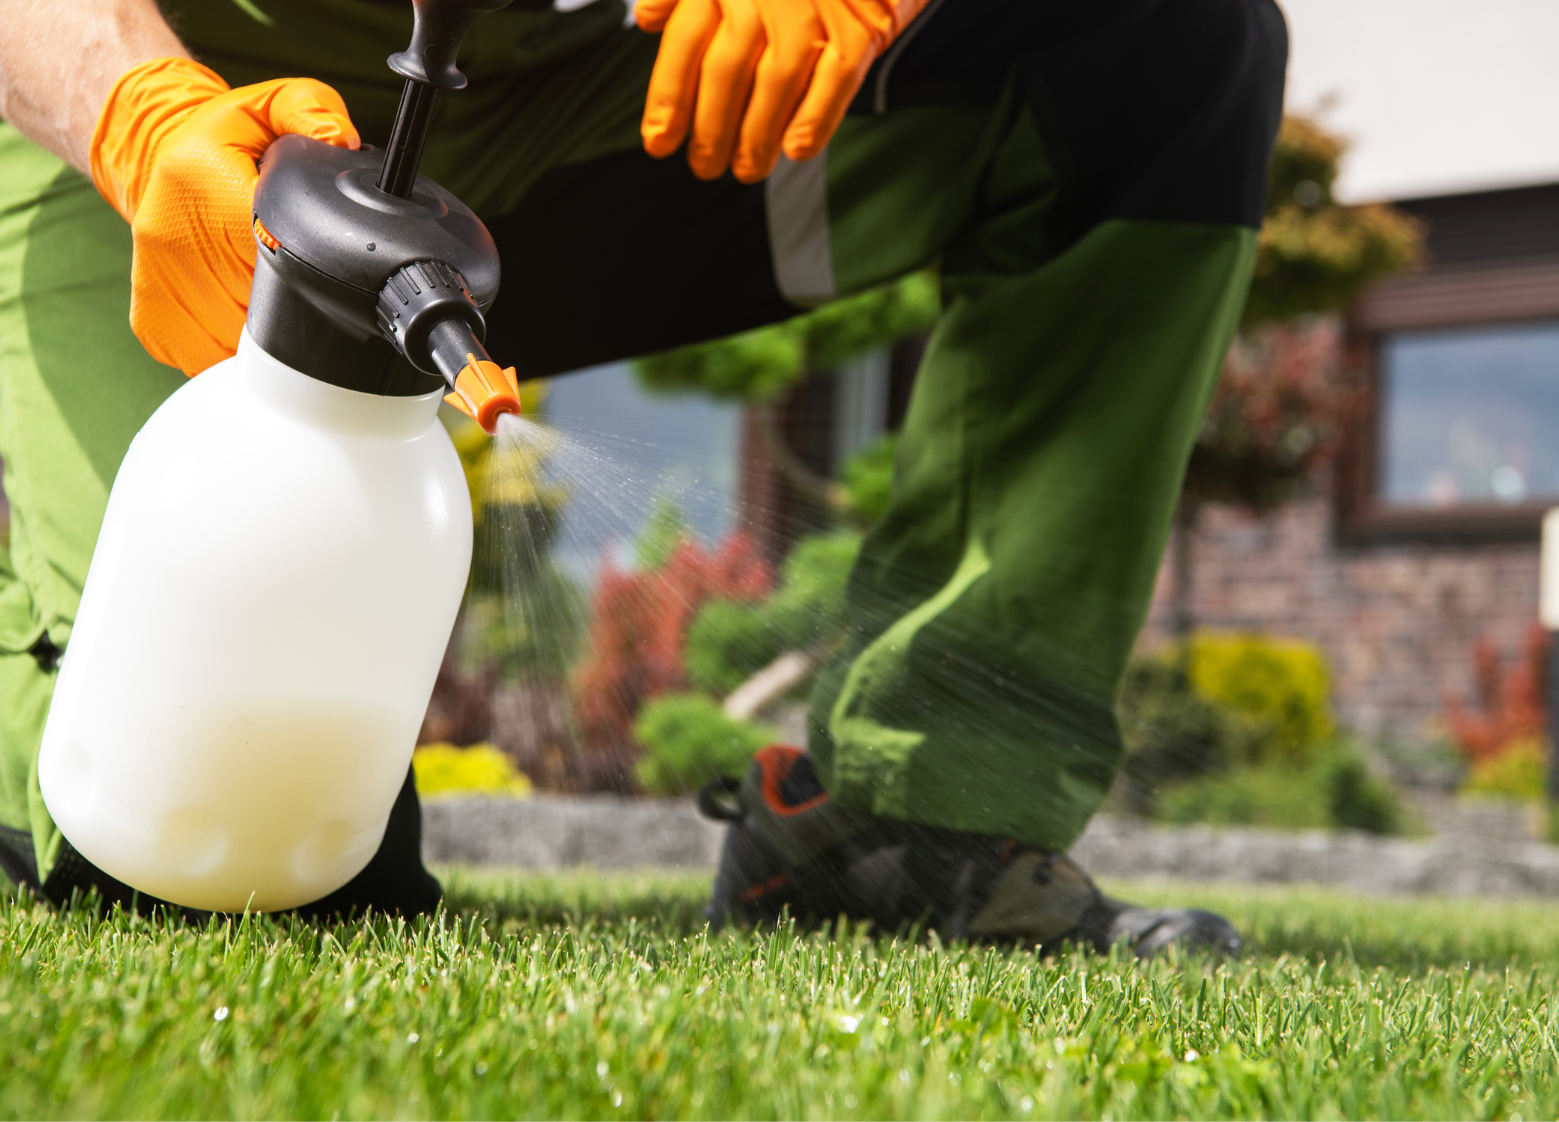
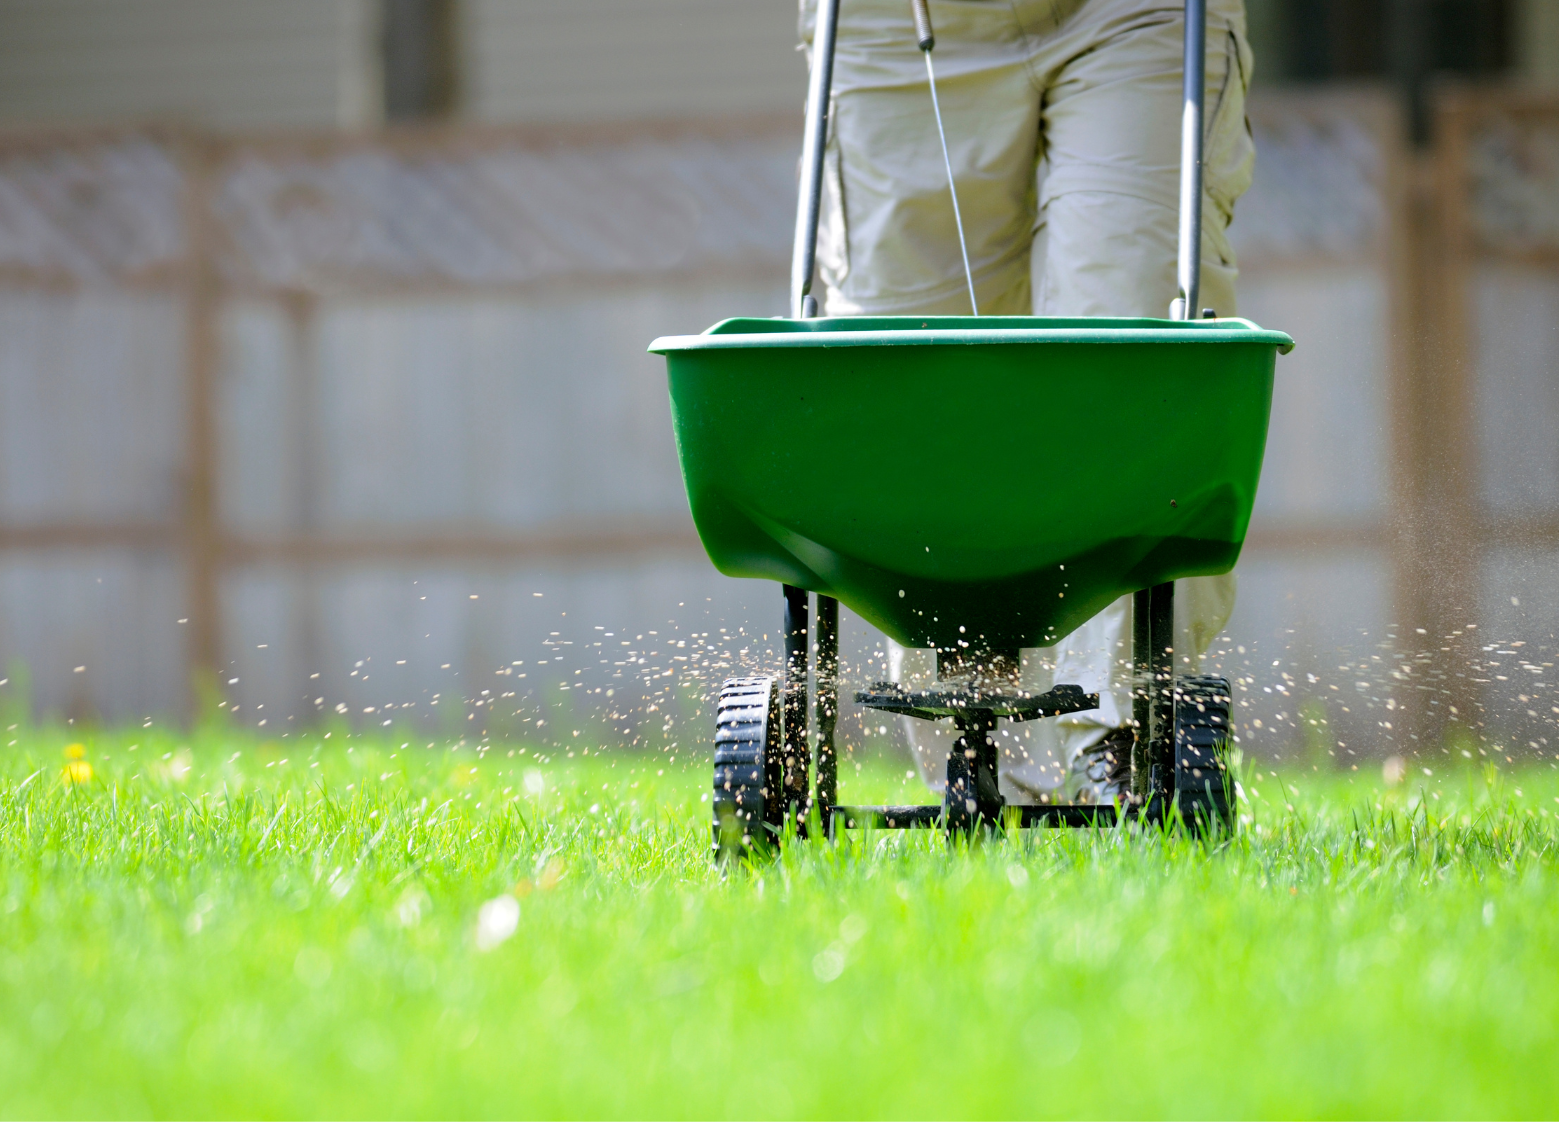
Additionally, it is more resistant to disease and insect infestations. It also requires less fertilisation than other types of turf grass. This is because the turf is designed to get most of the nutrients it needs from the shade and rainwater. You won’t have to worry about lugging around a heavy bag of fertiliser or having to frequently replace it either, which can save you even more money and time. Finally, shaded turf is typically very low maintenance and easy to care for, so you don’t have to worry about spending hours tending to and mowing your lawn.

The Cons of Shaded Turf

One of the biggest drawbacks of shaded turf is that it is more expensive than some other types of turf grass. This is because it is a specialist seed mix which is less commonly produced than the traditional grass seed mixes. Additionally, shaded turf is a creeper, which means it likes to spread out. It can grow into beds and along paths which can be difficult to prevent.

Another issue with shaded turf is that it tends to grow slower than other types of grass. This means that it can take longer to achieve the desired results in terms of lawn coverage and aesthetics. Additionally, it can be more difficult to achieve a uniform lawn as the colours can vary between plants. This is due to the lack of direct sunlight, as the shorter plants that receive more sun will grow in lighter colours than the taller plants.

Green garden in a shaded area
Shaded lawn

Making the right decision

Choosing the right type of turf for your lawn can be a difficult decision. It is important to weigh the pros and cons of each option and decide which one is the best fit for your specific needs. If you have a shaded lawn, then shaded turf may be the best choice for you. It is drought-resistant, requires less fertilisation, and is low-maintenance. However, if your lawn is mostly sunny, then traditional turf may be the better choice for you. By considering all of the options, you should be able to make the best decision for your lawn and enjoy a beautiful, vibrant outdoor space.

We hope this has helped and if you should have any further questions please do not hesitate to get in touch with our team.

How to mulch your beds

Now we are in November it is time to put the garden to bed. This simply means applying a mulch such as homemade compost or our soil improver to your beds. Mulching now is a great way to ensure your garden is ready for growing come Springtime.

No digging required

We asked around the office and it turns out people’s least favourite part of gardening is digging. Not only does it give you a bad back but after reading Charles Dowding‘s books on no-dig gardening it is no longer necessary. The idea behind the no digging is that the earthworms come to the organic matter and pull it into the beds rather than the organic matter coming to them.

Choosing the right mulching material

If you are a seasoned gardener and have a well-established compost heap your homemade compost will be the ideal mulching material. Homemade compost is often rich in nutrients and organic matter. If you are unsure your homemade compost has enough nutrients you could mix in some Worm Castings. Used as a fertiliser or soil conditioner, this completely natural product can be mixed at 10-30% dilution with your compost or ours.

Should your homemade compost not quite be ready, or you don’t quite have enough for all your beds, we have a product that is great for mulching. Our peat free compost is a great soil improver, made from green waste products.  As a mulching product, it will help to conserve soil moisture and suppress those pesky weeds. This will reduce your watering requirement and improve drought tolerance. If you have sandy soil this can be particularly beneficial.

Peat free compost for mulching in dumpy bulk bags.
Peat free compost for mulching

Benefits of mulching

With us now being in the wetter months of the year, persistent rain can wash away the nutrients in your soil. A good layer of mulching will prevent the rain from washing away your soil nutrients. It will also help the soil to retain moisture ensuring your plants are more resistant to drought next year.

Worms within your beds will become highly active due to the new organic matter you have added. This along with the reduced weed growth due to the mulching will ensure your soil is ready for planting in spring.

a person with a spade full of mulch spreading it from an orange wheelbarrow.
mulching your beds

3 steps for mulching your beds

  1. Weed the area thoroughly. Ensuring you have removed the roots and not just the leaves. Along with any plants or veggies that have now finished for the year.
  2. Spread your mulching material evenly across the bed. You want to be covering the bed with a thick layer of eight to ten cm of compost. If you still have plants in the garden such as leeks and kale you should only spread the mulch to four to five centimetres. Ensuring the mulch is pushed away from the plant stems to allow for airflow and prevent them from rotting.
  3. To prevent weed growth, lay sheets of cardboard over the compost. Use large stones or bricks to weigh the sheets down and prevent them from blowing away.

We hope you have found this helpful, if you have any questions regarding mulching your beds please get in touch with our team.

Things You Need To Know: For Feeding Your Lawn in Spring

Feeding your lawn in Spring will give it the nutrients it needs to stay healthy and lush all season long. There are a number of different types of lawn fertilisers on the market, so it’s important to choose the right one for your needs. Timing is also important; you don’t want to wait too late in the season or your lawn will be overfed and become green and spongy.

To ensure you are feeding your lawn in Spring effectively, follow these simple steps:

What will feeding your lawn in Spring actually help with?

The first and simple answer is it will give you a greener and thinker lawn.

When applied correctly the feed should encourage your lawn to grow close-knit turf and roots. This should help to prevent both weeds and moss from being able to grow.

The feed can also help the lawn to continue to grow in drought conditions. Should the lawn also be affected by a disease it is more likely to fight it off.

Feeding a lawn in Spring is a great way to ensure growth throughout the coming months
Lawn Spring feeding

What to look for when choosing a fertiliser for Spring feeding?

Spring feed should be high in nutrients, especially Nitrogen, Phosphorus and Potassium. When looking at the label make sure that these are included.

The Nitrogen will help the create proteins that the lawn needs for cell growth. Because of this, it helps the lawn to fight against any damage by feet, mowing or lawn disease.

Phosphorus encourages the lawn to grow longer roots so it is able to absorb additional water and nutrients as required.

The Potassium within the feed gives the lawn a stronger immune system. Enabling it to resist common diseases and continue to excel in drought conditions.

Many people like to use up remaining fertiliser in the autumn when a further feed can be applied. This requires a different feed. Using Spring fertilisers can cause the lawn to become vulnerable to frosts and result in a sappy soft lawn.

When to feed your lawn?

Spring feeds should only be applied to well-established lawns. The grass needs to be actively growing before applying fertiliser. We know it seems a little mad to think to feed the lawn at a point when the lawn is growing quickly already.

If March is warm you can start this process, if cooler weather you may want to wait another month or so.

How to apply feed to your lawn?

There are two main methods for fertilising, and this mainly depends on how big the area you are doing is.

Smaller Gardens

By hand – measure out square meters or yards and mark these with string. Just like seeding your lawn. measure out the quantity you need per area and even spread with your hands. We would always recommend wearing gloves for this.

Larger Gardens

By spreader – you will likely want to use a fertiliser spreader when feeding a large lawn. These will often give a more even spread. With many different types, make sure to get one that suits your area’s requirements.

Feeding the lawn in Spring
Feeding the lawn in Spring is key

The last thing you need to know for feeding your lawn in Spring is…

For the best results always follow the instructions from the manufacturers. Each product is different and requires different conditions and different quantities and delusions.

Hopefully, with this little advice, you will be confident with feeding your lawn that you are getting the right products and completing the feed at the right time. Our friendly team are on hand should you have any further questions or need any additional support.

We have lots more information on our website to help you with your garden all year round, take a little look here.

How To Top Dress Your Lawn: A Step by Step Guide

Top dressing your lawn is a great way to improve the overall health and appearance of your lawn. By spreading a thin layer of a mixture of soil, sand and humous over the surface of your lawn, you can fill in any bald spots, help the grass grow thicker, and keep it healthy and looking good all year long. When you top dress your lawn this can also help to control weed growth and moisture levels, making it a valuable addition to any lawn care routine.

Top dress your lawn will give you a lusher fuller lawn.
get a lush lawn from top dressing your lawn

What are the benefits when you top dress your lawn?

  • Will give you a leveller lawn by filling minor hollows.
  • Top dressing helps to improve soil structure, water retention and drainage.
  • It can also help to control weed growth and improve the overall appearance of the lawn.
  • By using a good topdressing each year you will likely require less fertiliser and pesticides.

When should you top dress your lawn?

A topdressing should be done during the growing periods, this can be done between April and October. Many people choose to top dress in late Spring or early Autumn.

What should your top dressing be made up of?

Here are the three main components you should look for when choosing a top dressing mix:

  1. Compost: This is a key ingredient that provides nutrients and organic matter.
  2. Sand: This provides stability and drainage.
  3. Topsoil: This will help level out the ground.

Standard Mixes

Our top dressing mixture is a 70:30 mix. If you would like any more information regarding this please see the Top Dressing product page.

Shows how to spread the top dress on your lawn.
Top dress your lawn

5 Steps to applying the top dressing to your lawn

  1. Step 1: Mown your lawn. This will help the top dressing work into the soil below. Remember to remove the clippings.
  2. Step 2: Rake over the lawn, either using a power rake or aerator to open up channels for the top dressing to enter.
  3. Step 3: Using a spade, fling the mixture onto the lawn. Ensure it is evenly spread throughout.
  4. Step 4: Once it is across the lawn you want to work it into the lawn with the back of a rake or a lute. This will ensure the top dressing is spread evenly and prevent new bumps from being created.
  5. Step 5: If there is no rain forecast ensure the top dressing gets a light shower to help it into the ground.

Now it is time to be patient and wait for the topdressing to do its magic.

If you still have questions regarding how and when to topdress your lawn, contact our friendly team who will be happy to help.

Grow a lawn from seed: A how to guide

Growing a lawn from seed is extremely popular and should be done between March and September. For your seed needs take a look at our Premium Lawn Seed Mix. Here are some handy tips to grow a lawn from seed.

How to grow a lawn from seed?
Lawn from seed

Prepare the ground to grow a lawn from seed

Start by removing any old turf. Dig the area over, removing any weeds and large stones. You may wish at this point to add organic matter, like our worm castings. This will help to enrich the soil, so your seeds have all the nutrients they need to thrive. 

Rake it over ensuring the lumps are broken down. You will then need to tread the ground. Repeat this process until you have an even area with no bumps or hollows and are happy with the ground. 

Just like preparing any seedbed, rake it over one last time to a fine tilth. 

Sowing 

There are two main methods for seeding. Always remember to read the seed packet before starting to ensure you know how much seed should be used in an area. 

Sowing by hand 

The first method that is best for a small area is sowing by hand. You may wish to measure out and mark each 1m square with canes or string. This can help to ensure you are putting the right amount in each meter square. 

Try measuring out what you need for a meter square into a cup and using this as your guide to preventing having to keep measuring. Sprinkle the seed over the area, one way and then the other to ensure even coverage. 

Sowing with a fertiliser spreader 

If you are planning to seed a large area you may wish to look at a fertiliser spreader. These handy machines will make the process much quicker, and you should get an even spread when used correctly. 

Simply follow the instructions on the spreader and seed packet. Ensuring you are putting the right amount in for your area, and you continue to move and not allow too much to drop in one place. 

After sowing 

You want the seed to be amongst the soil. Do this by raking the seeds in after sowing, then firm down by foot. Then give the area a light watering; you want to continue to water your seeded area for six weeks unless rain has fallen. 

And that is all there is to grow a lawn from seed

We hope this helped with how to grow a lawn from seed; should you have any other questions regarding the sowing of a lawn we are always here to help. 

Choosing the right compost for you

Choosing the right compost for your gardening needs will help to enrich and enhance your soil and assist your plant growth.

Why do I need compost?

Although compost and soil from your garden are great. Many of these are missing the key nutrients you need for growing your plants. Therefore by adding compost to your beds or pots you are giving your plants the best chance of excelling.

What do we offer for compost types?

We currently have 3 types of compost in our range. Choosing the right compost is about understanding what you will be using the compost for.

Multipurpose Compost

Our multipurpose compost is manufactured from top quality conifer bark and wood fibre, coir, and green compost. With being Royal Horticultural Society approved you know you are getting a quality product.

These 50L bags are ideal for seeding and potting. They can also be used for tree and shrub planting when mixed with three to five parts soil to one part compost.

Choosing the right compost for you, the multi purpose might be right for you.
Multi Purpose compost

Peat Free Compost

Our Peat Free Compost is derived from 100% green waste, that adheres to the UK’s PAS100 scheme. This means the compost is heated, which then kills off any weed seeds or parts of plants necessary for their reproduction. We currently offer this in 900L bags or larger loose tipped loads.

Mix with soil to be used as a soil conditioner for establishing grass or turf, plant beds or for planting trees and shrubs. You can also use it for mulching to conserve soil moisture and suppress weeds.

Peat Free Compost
Peat free Compost

Peat Free Organic Compost

Our Peat Free Organic Compost is made from bracken, and sheep’s wool and enriched with comfrey. For this reason it has natural water retention and is a slow-release fertiliser.

Great for pots, tubs and hanging baskets. Simply loosely fill and water well before use. If you have raised beds, it is ideal with the slow-release fertiliser.

Our peat free compost could be the right one for you to choose.
Peat free organic compost

Still need help?

In conclusion, all of our composts are great for their purpose. We hope this has helped with choosing the right compost for you. If you still required some assistance, please do not hesitate to get in touch.

5 steps to prepare your ground for laying new turf

Preparing the ground is the first step to getting the garden and grass you want! When the ground isn’t prepared correctly the turf will not flourish. This can prevent that rich green glow you are looking for. Here are 5 simple steps to prepare your ground for laying new turf:

Raking over soil, to prepare the ground for laying turf
Prepare the ground for laying turf

Prepare the ground for laying turf

  1. 1 – Remove old grass
  2. 2 – Turf over your soil
  3. 3 – Level and rake
  4. 4 – Final Grading
  5. 5 – Order your turf

Remove old grass

If you have grass already, you will need to start by removing this grass. There are two ways to remove the old turf.

The first method is quite labour intensive. You will need a good spade, time and a lot of elbow grease! Dig the spade into the ground, cutting your turf into easy liftable sized pieces (10inches x 10inches works well), and slide the spade under the edge of the turf to lift it away from the ground.

However, if you are looking at a larger area you might want to look at hiring a turf cutter. These will cut along the top of the turf, in the same way, the spade did but without the physical labour.

Turn over your soil

The soil will now need to be turned over. While doing this you need to remove any rocks or weeds. There are two options for doing this and again it might depend on the size of the area you are laying the new turf on.

One way is to manually dig it over with a fork, it should be to the depth of 15cm. Or you can hire a rotavator which is a bladed machine that will mechanically loosen the soil. If fertiliser is to be applied now is the time.

Level and rake

We know what you’re thinking, but I just dug it all over. Yes, but unless you want a lumpy lawn you need to make it all smooth again. It may well be the case you need to add some topsoil if the ground is uneven or perhaps the soil is high in clay content. We provide top quality topsoil if you need it!

Now that the ground is nice and even, it is time to tread the soil down. This will remove any air pockets and it should make it easy to see if any areas are a little lower or higher than others before you get to laying.

The best way to do this is with a little shuffle. With your feet together shuffle your feet along in a straight line from side to side of the area you are working in. You should have a firm and flat finish once this is complete.

Final grading

You will be pleased to know that we are onto the final step. Now is the time to remove any remaining footprints or wheel marks. In small areas, you can often do this with light raking. For larger areas, use a long straight plank to check if the soil is level. Followed by dragging a ladder or the plank along with the soil, to give it some texture to help the roots of the turf to establish.

Order your turf

This might seem a little odd to wait until the preparation is complete before ordering your turf, but we say this with many years of experience. The preparation time always takes longer than you think!

As turf is living, it needs to be laid the same day or the day after delivery. If you end up needing extra topsoil or the ground is too wet to turn over the new turf won’t wait.

Now you have prepared the ground for laying turf, it's time to order your turf.
order your turf

We’re here to help

Hopefully, this has all helped you know how to prepare your ground for laying new turf and once you are ready you can order your turf here on the website, or by calling our team on 01952 510386.

If you have now read this and though I am not sure I can take this on myself, don’t worry. Here at Shropshire Turf and Soil, we offer the full package. We send one of our experts to your garden, at a convenient time for you to discuss your options to get your dream garden. Call us today on 01952 510386, to organise a free no obligations quote for your new turf.

When is the best time to lay your turf?

Laying fresh turf is a great way of transforming your garden. It can be quite a daunting idea though especially if you haven’t laid turf before. This can lead to you putting off laying turf until the right time but when is the best time to lay your turf?

Turf can be laid all your round

Yes, contrary to popular belief turf can be laid all year round. The best time to lay your turf comes down to the weather. In an ideal world, you don’t want it to be too hot or too cold, too wet or too dry or too sunny or too cloudy. After reading this you might be thinking we are looking for the impossible when we live in Britain! However, fear not we have 30 years of experience and are here to help.  

When is the best time to lay turf?
Turfing all year round

Laying turf in Winter

Laying turf in the winter months can be done, but you will need to be careful now we are experiencing colder winters. If the ground is frozen it will not be possible to prepare the ground for turfing or cut the turf ready for laying. However, if it freezes after you have laid the turf this will not cause any damage. We generally get more rain in the winter months so you might not need to water as much as in the summer but if there have been several days in a row without rain you do need to give it some water.

Laying turf in Spring

Spring has always been the traditional time to start working on your garden, especially when it comes to turf laying. The main reason is that the weather is about as ideal as we can get for preparing and laying turf. Often in spring, we find the ground is warmer which means the roots establish quicker than in the winter months. 

Laying turf in Summer

The British Summer is now becoming a mix of torrential rain and mini heatwaves. Neither of which is ideal for laying turf. Your freshly laid turf will require a lot of watering especially if the weather is hot. A good showering once laid will help the turf to establish quicker. Watering first thing in the morning and in the evening will prevent the turf from scorching.

Laying turf in Autumn

Just like in spring, autumn is a popular time of the year for turf laying. We now see warmer September and many people choose to improve their gardens after the busyness of the summer, ready for the next year. In Autumn it’s just as important to keep an eye on the weather as any other time of year, especially if we get any early frosts.

When is the best time to lay your turf?
There is no best time to lay your turf

Turf suppliers in Shropshire and surrounding counties

You should now be able to see there isn’t the “perfect” time for turf laying. However, with the right advice, you can lay your turf at any time of the year. That’s why we at Shropshire Turf supply turf all year round. After reading this if you require the right advice for preparing your grounds for laying we have all you need to know here.

When you are ready for your new turf, you can order via our website or give us a call.

Our customer service team are on hand with helpful advice all year round to ensure you get the garden of your dreams. We can also organise the laying of your turf, taking all the stress away from you. If you would like our help with transforming your garden give us a call on 01952 510368.

How to prepare the ground for a wildflower meadow

A meadow of wildflowers can be a beautiful addition to your garden. But before you go ahead and plant one, you need to know how to prepare the ground for a wildflower meadow.

There’s more to getting the ground ready than you might think. In this post, we’re going to share out step-by-step guide on how to prepare the ground for a wildflower meadow. Whether you have chosen the instant effect with wildflower turfing or seeding, the preparation is the same. Preparation should start six weeks before you plan to lay the turf or seeding to ensure the best results.

Wildflower meadow made from preparing the ground for wildflower seed.
Wildflower Meadow from Seed

Prepare the ground for a wildflower garden

  1. Step 1: Spraying / Uplifting
  2. Step 2: Rotavate / Breakup Soil
  3. Step 3: Check back for weeds
  4. Step 4: Rake over
  5. Step 5: Order your wildflower seed or turf

Step 1: Spraying/ Uplifting

Depending on what is already in your area you wish to have a wildflower meadow, you will need to spray off any weeds or grass or uplift them. Ensuring they have been removed, will prevent the weeds or grass from growing and overwhelming your wildflower.

If you are choosing to spray off the weeds or grass ensure you buy a strong all types of weed killer. This will likely take a couple of attempts to ensure it is all dead. Weeds and grass are surprisingly stubborn and often manage to survive initial spraying.

There are two ways you can uplift the weeds or grass from the garden. The first is probably only really doable if you have a small area to prepare. You will only need a good spade, simply dig the spade into the ground, to cut the grass or weeds into easy liftable sized pieces. Then slide the spade under the edge to lift it away from the ground. If this sounds like a lot of hard work for you, then maybe hire a turf cutter, they can be found at most machinery hire shops. These will simply but and lift at the same time without the elbow grease of the spade.

Step 2: Rotavate/ Breakup soil

Just like when laying turf or seeds for traditional turfing. You will need to break up the soil. This can be done either with a rotavator or with a fork, turning over the top 10cm of soil. Wildflowers are known for favouring poorer soils. Generally, most soils will be fine, however, if you are worried you can remove the top layer of soil.

The removal of the top layer of soil will take away the area where most of the nutrients are. This is because the top layer of all soils contains the most organic matter of all the layers of soil.

Wildflower meadow made from preparing the ground for wildflower turf.
Wildflower Meadow from turf

Step 3: Check back for weeds

We know what you are thinking, “I have already done this!”. Around 2-6 weeks later it’s important to remove all the weeds that have returned. Hopefully, there aren’t as many this time and you can just do this with a hoe or by hand.

Step 4: Rake over

Now you want to ensure your grounds are nice and flat. If you seed or turf a bumpy area you will end up with an uneven wildflower meadow. This can cause damage to both your meadow and mower when cutting. When seeding you want the area to be firm for the seeds to lay on.

Step 5: Order your wildflower seeds or turf

Probably the most exciting part now. Once the grounds have been prepared correctly it is time to order your wildflower. It is really important to order the right type for your garden, as choosing the wrong kind can mean minimal growth which nobody is looking for in a wildflower meadow. To know which type of wildflower seed or turf is best for your garden give our team a call.

Prepared and ready to go

We hope that our guide on how to prepare the ground for a wildflower meadow has helped. You’ll be readying the ground, planting your seeds and watching your wildflowers grow in no time. Should you need any more assistance please do not hesitate to get in touch with us.

Subscribe

Find out about the latest news from Shropshire Turf, our top tips for seasonal landscapes and gardens as well as new product releases and case studies.

Testimonials

What are people saying about us?